PLC programming in Mitsubishi’s FX series is made easy with the ability to read and write programs using a PC. Learn how to load a ladder program to the PLC and the determination of the serial port.
Mitsubishi Electric’s programmable logic controller (PLC) line-up FX3u 32M can be programmed using ladder logic programming IEC language. To load a program to the PLC, there are a couple of aspects that are considered. These aspects include; serial port (COM port), PLC type, execution of read and right.
Reading a PLC program
This refers to the process of acquiring the PLC program that is already written in the PLC memory to display on your programming PC using appropriate software. Below are some of the steps taken to read a program from the PLC.
Installation of GX Developer Software
To get started with programming, you first need to have the PLC programming software installed. For this tutorial, we are going to use MELSOFT’s GX Works 2. You can install the latest version of GX Developer.
Determination of Serial Port (COM port)
Once you have the GX developer software installed, you can launch it. Before proceeding further with using it, we need to establish a communication connection between the PLC hardware and the software. For this, we go to the Device Manager on our PC, and in ports, we look at the COM port to which our programming cable is connected.

Reading From PLC.
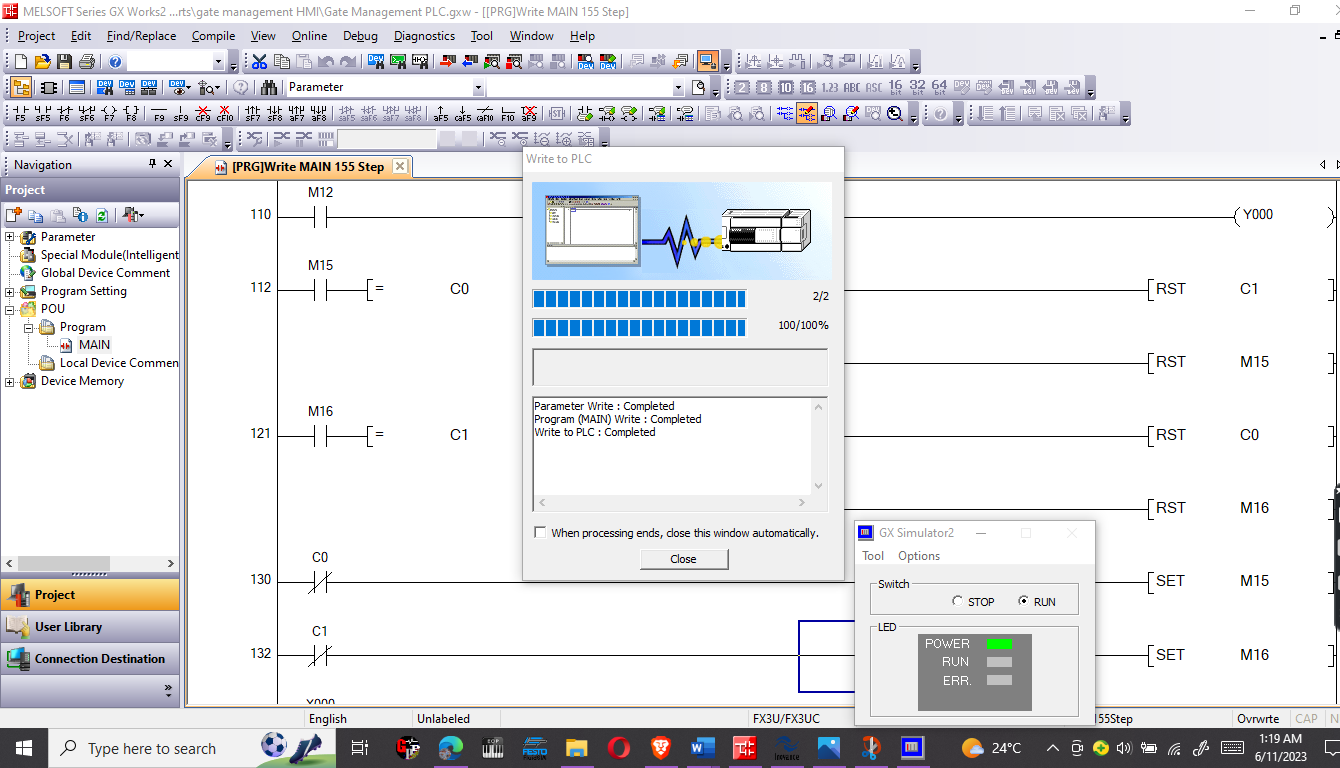
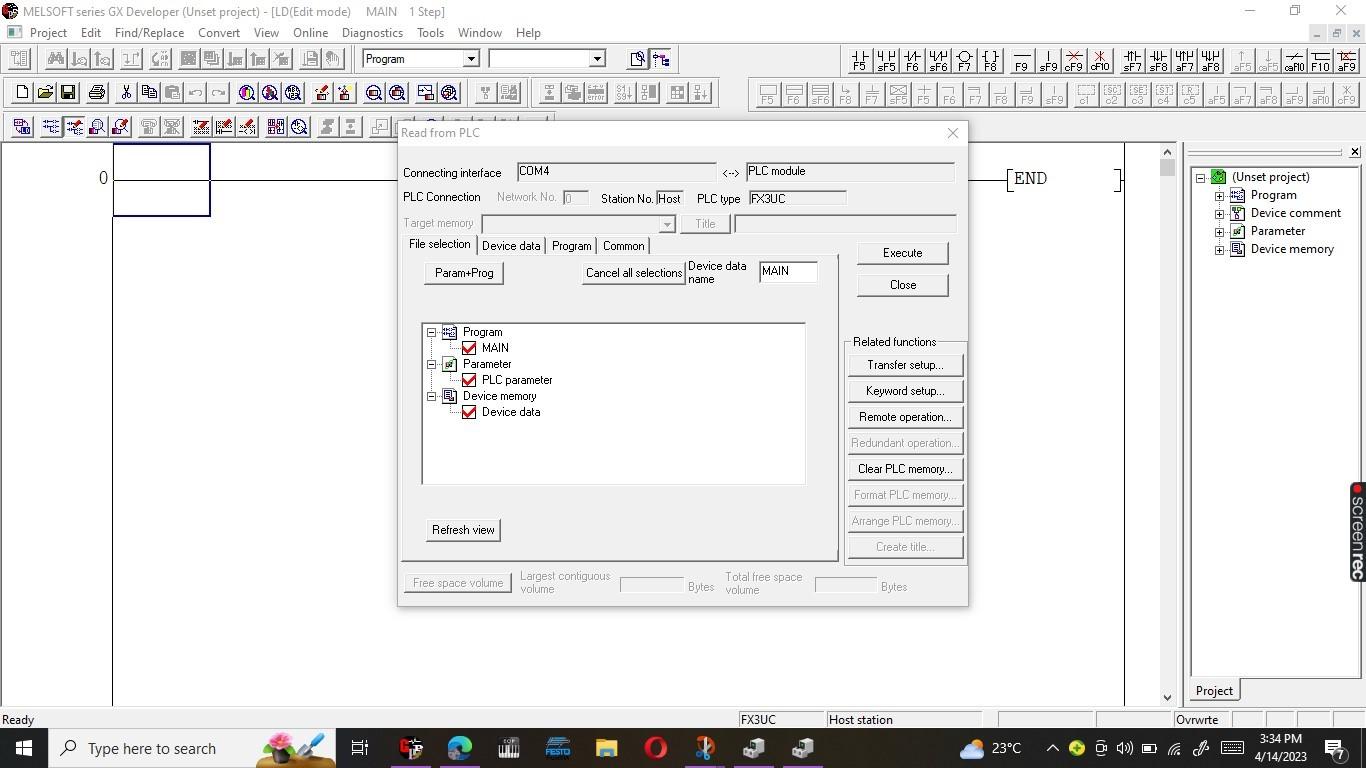
With your COM port already determined, and the GX Developer software launched, click on ‘online’ on the menu, and in the drop-down, click on ‘Read From PLC’
In the same dropdown menu, there are choices such as Write to PLC which can allow you to load your already written program to PLC
Once Read From PLC is clicked, a transfer setup menu appears where we can add we can double-click on serial and select the determined port from the device manager. For this tutorial, we are going to use COM 4.

Clearing PLC Memory
In the pop-up window that appears after the COM port setup, we can click on clear memory and select only the PLC memory then execute. Once done, we can revert to the initial window and click the PLC Main, parameters, comments, and data then execute to get started.
Reading and Writing Ladder Program To PLC
The procedures of reading and writing PLC programs in Mitsubishi are similar in their approach. Getting to know this can aid in establishing a connection between your PLC software and hardware. Follow this guide to get started and if you want to understand better and learn, just get started.
Want to get started with PLC programming, check out this beginner guide tutorial.